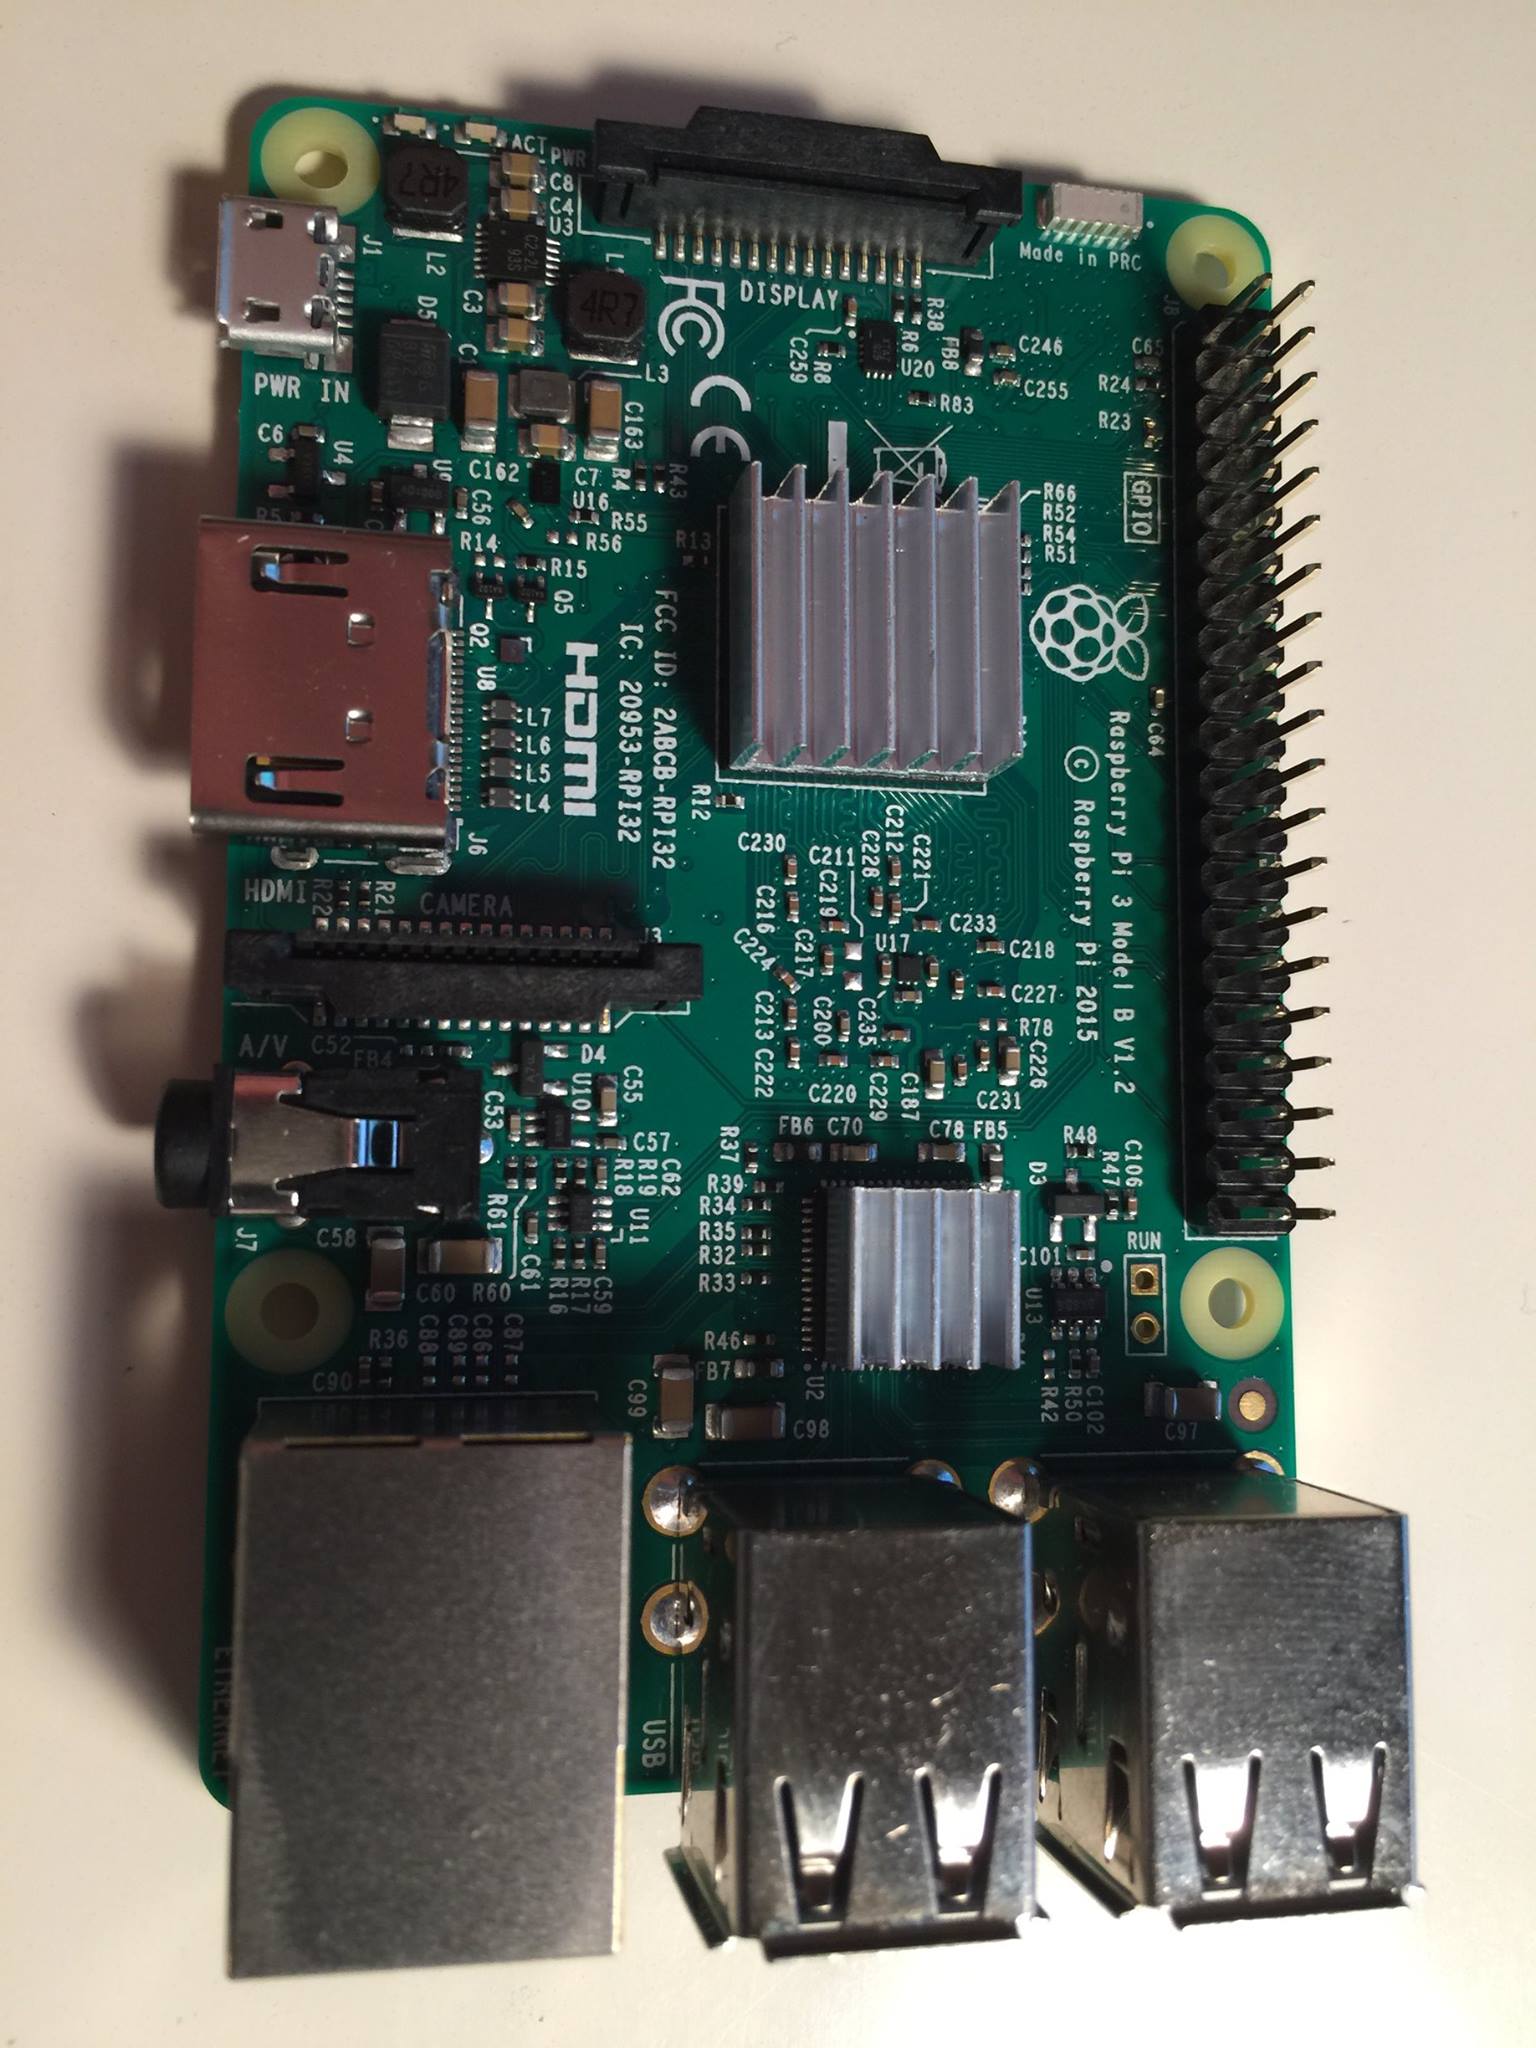
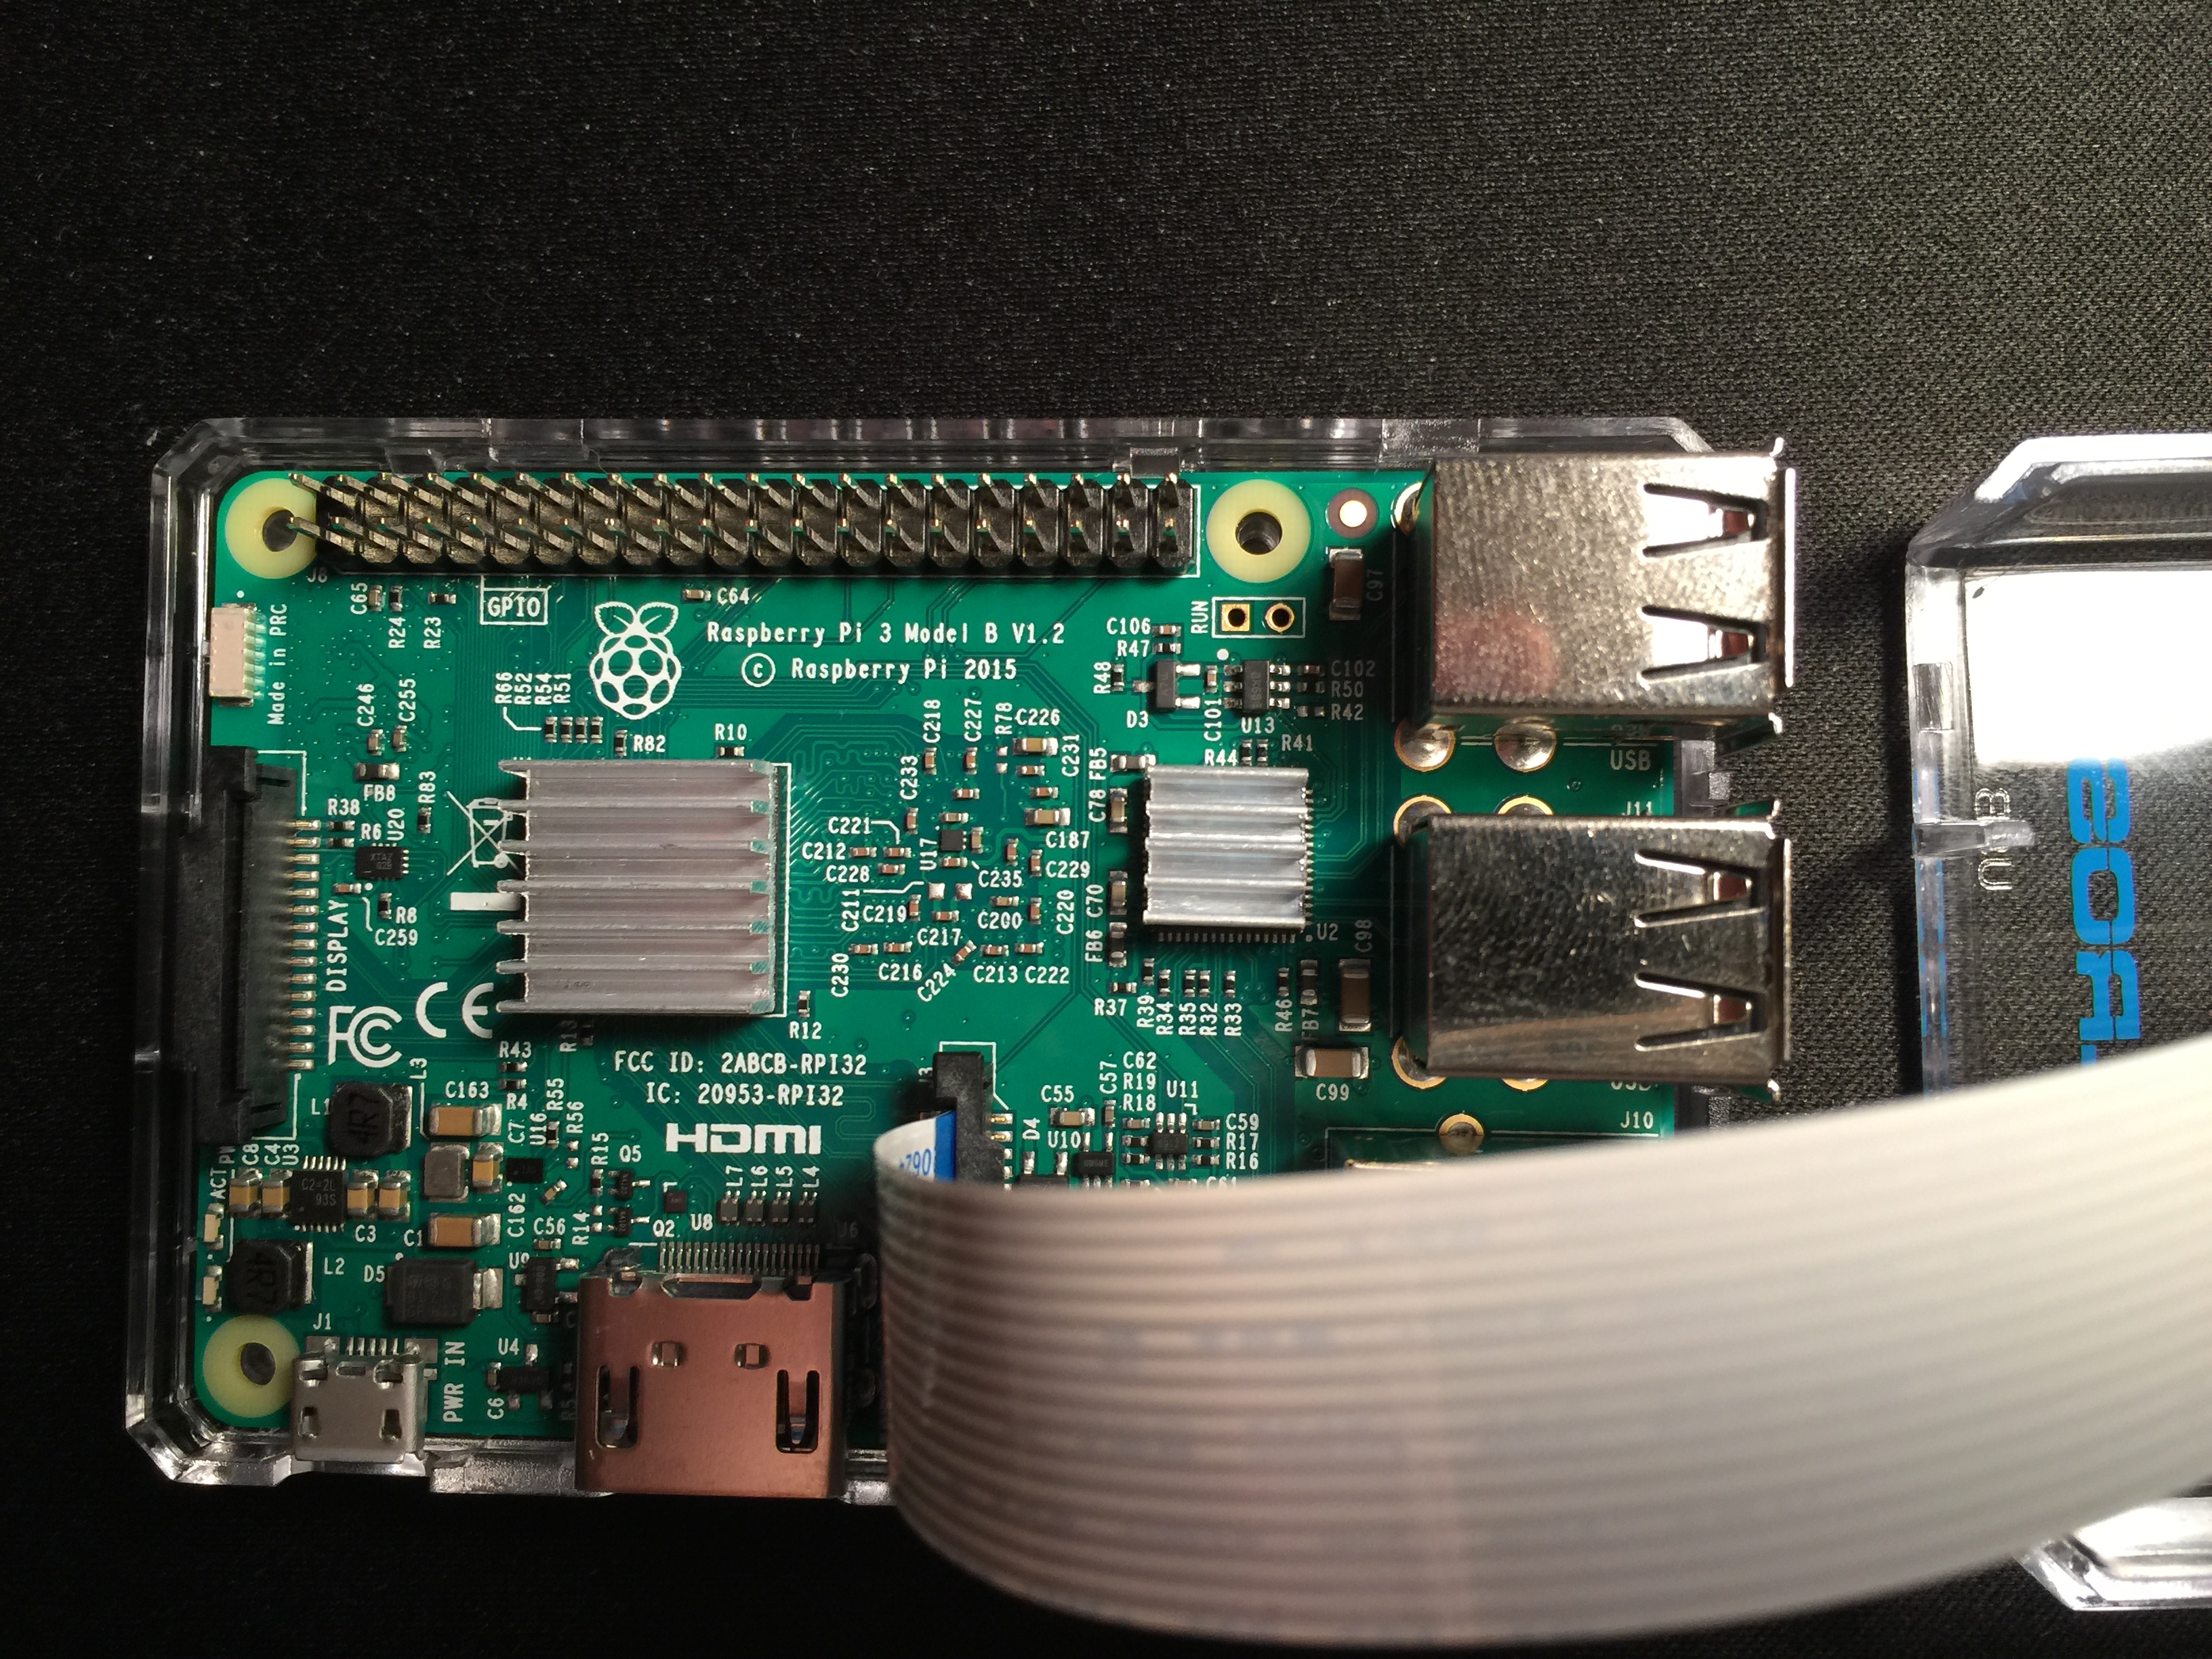
Raspberry Pi model 3B
The Raspberry Pi is a small ARM-based single board computer originally conceived as an inexpensive device for teaching computing. However it was quickly recognized as a wonderful candidate to become the core of many Internet-Of-Things projects. It is so inexpensive (~$35USD) that one can afford to have several and use each to make a single-purpose device for … whatever. I have two of them that I used to build a birdie spy-cam, to monitor some finches that build their nest each year at our house, and a second one that is a music streaming device attached to our stereo. It allows access to all internet radio stations, Spotify and our entire home music collection, controlled by either a web page or an iPhone app. Some of the configurations were not straightforward, so this page documents the work, so that you can reproduce it more easily. I did not include actual suppliers, but you can easily look up the myriad vendors on the internet, most of whom will sell through Amazon.
Birdie-Cam Pi

Deployed!
What an interesting and inexpensive project. It cost $87 for all the electronic parts and a few hours of software work. I attached an old surplus USB webcam from a long-gone PC, so the little computer board actually manages and streams two cameras. The finches build their nest on top of the outdoor speaker against the ceiling above our deck. The old webcam has better low light capability, so I’m going to stretch its cable up to the place where the nest will be. And I’ll just let the computer do its work. It has motion detection capability, so will shoot pictures when it detects movement as well as streaming continuously.
Here are the parts:
- RaspBerry Pi Model 3B board: $35
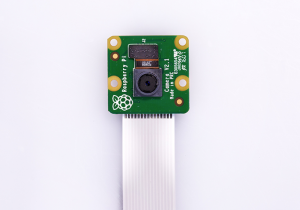
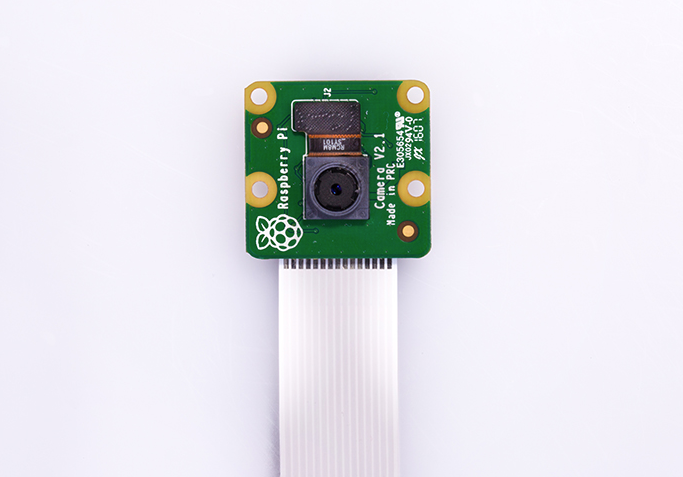
- Raspberry Pi camera module $15
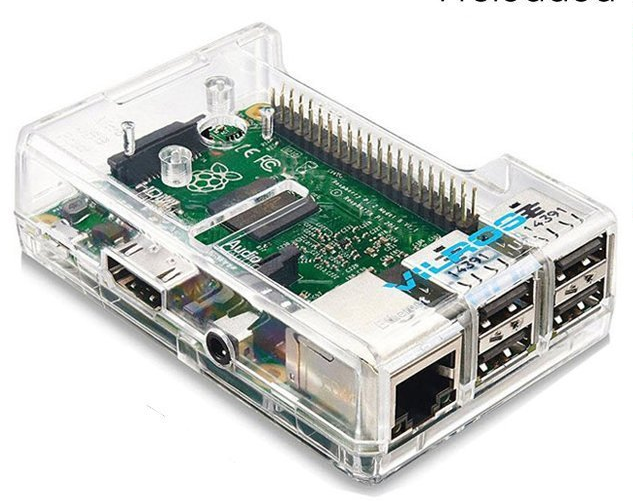
- A case. I used the clear plastic Vilros case that also mounts the camera module: $10

- 2.5 amp micro USB power supply: $10
- 32Gb micro SD card: $12
- This is the system memory of the computer. Get a good-quality class-10 card, so it will last. The system writes the card often and will wear out a cheap card
- Some adapter to plug the micro SD card into your laptop or desktop computer for initial configuration. This is either a USB dongle ($5?) or perhaps you already have an SD slot on your computer?
- And maybe some old USB webcam that you have lying around in a drawer. The board can manage more than one camera at the same time.
- An ethernet cable
- An old HDMI monitor or a TV with an HDMI input.
Assemble it
- Ground yourself as you handle the board so you don’t zap it with a static electricity discharge.
- Put the heat sinks on the two chips on the Raspberry Board. My two boards came with pre-cut adhesive already attached to the heat sinks.
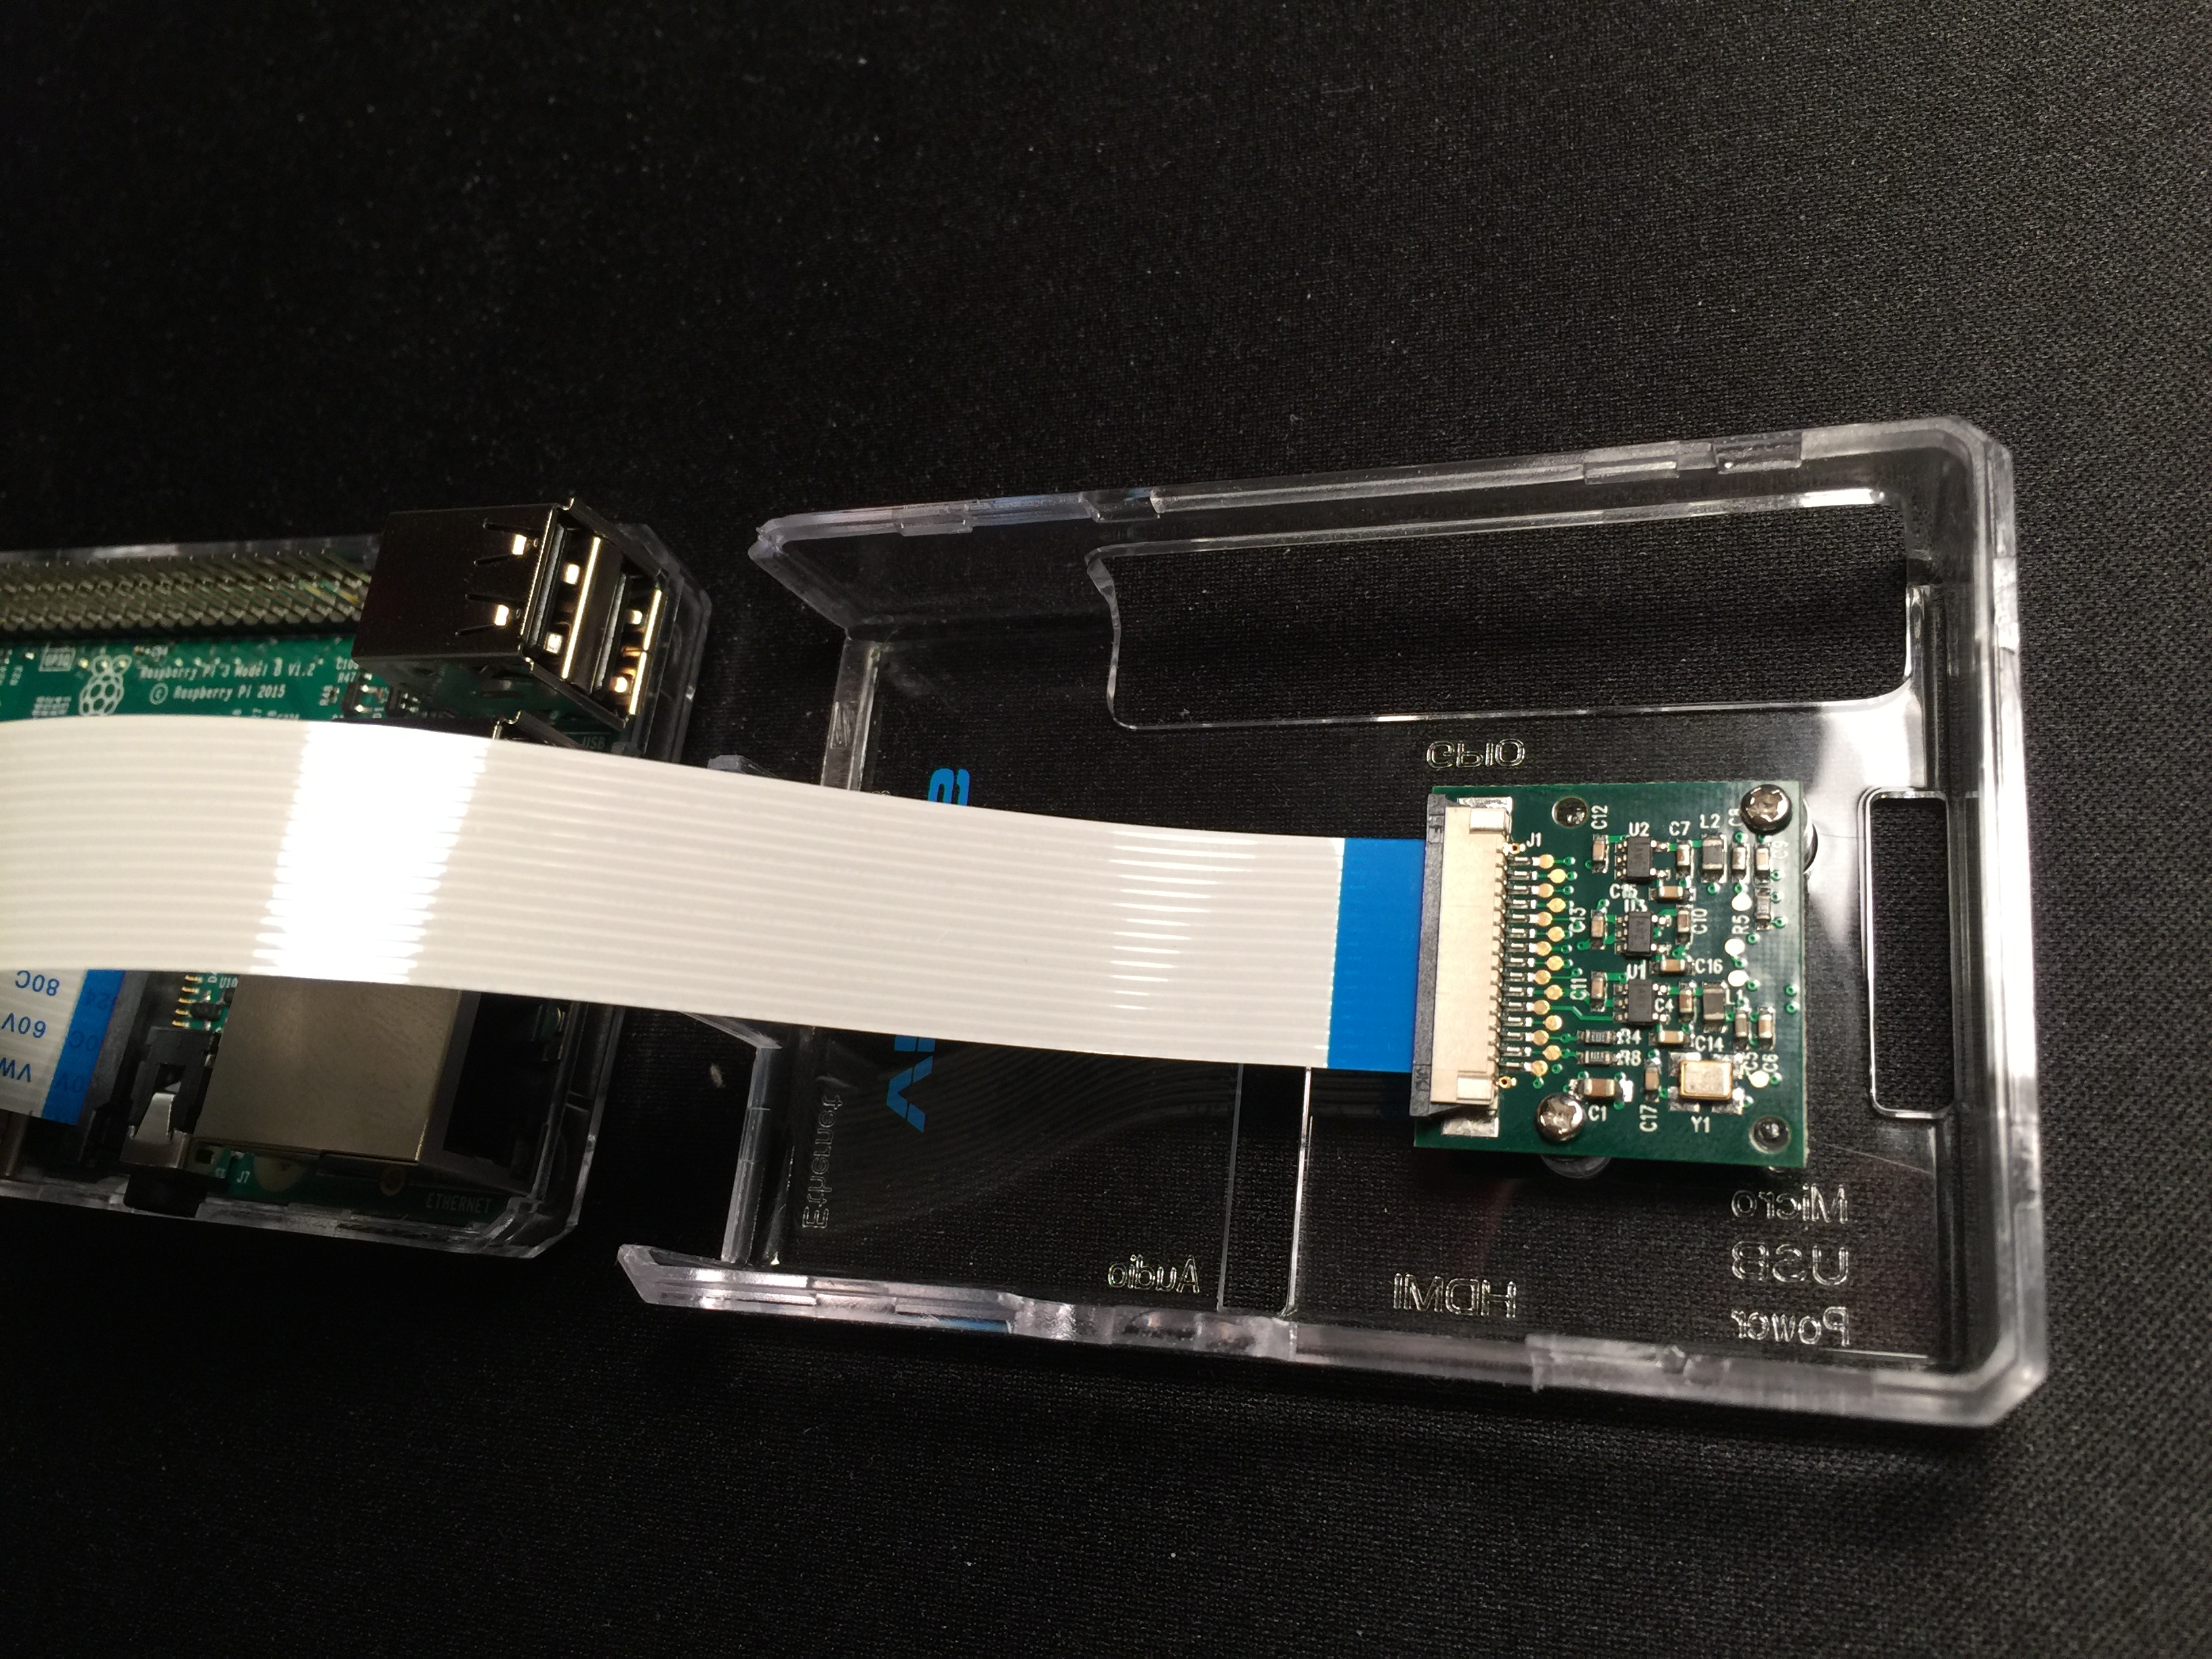
- Attach the camera module to the board. <–Just do the 1st task. Make sure that the metal tabs face away from the ethernet port.
- Fasten the camera module to the top of the case with the provided screws and lay the board into the bottom.
- Route the ribbon cable so as not to pinch. Snap the case together but don’t yet insert the micro SD card
Program it
Normally the Raspberry runs a Linux operating system distribution called Raspbian. For single purpose applications, like this camera, some open-source software-projects have bundled the operating system together with the software to perform the task. This makes configuration much easier and avoids using the Linux command line for those who fear it. I used a free open-source software system called MotionEyeOS. Explanations here and here.
- Get the MotionEyeOS here
- Click on the downloaded file to unpack it. It’s compressed. The computer will create a folder with several files inside. You want the one that ends in .img
- You need a program to transfer the .img software onto the micro SD card. You can’t just drag and drop. This is a special file. It can be done from the OS X command line, but it’s easier and safer to do it with this application (etcher)
- Install etcher, open it and follow the directions for “flashing” the Micro SD card with the .img file. Etcher ejects the card when done, so just pull it out of the adapter and …
- Insert the micro SD card into the slot on the Pi board (The writing faces away from the board).
- Plug an old HDMI monitor (or a TV with HDMI inputs) into the slot on the Pi board.
- For the first boot-up you’ll need to attach the Pi with an ethernet cable to your router, so go plug it in.
- Then insert the power cord into the micro USB slot. This powers up the computer and it will boot.
- Watch the monitor as it boots and write down the IP address that is displayed. You’ll need this to connect to the Pi from your laptop in order to do the rest of the configuration, including enabling wifi, so that you can skip the ethernet cable on the second boot.
- Go to your laptop or desktop, open a browser and type in the IP address. You should be at the configuration page for MotionEyeOS and can set the system up however you want.
- Here’s a list of things to do written by the software author.
- There are MANY possibilities from this point on, so if you have questions send me a note
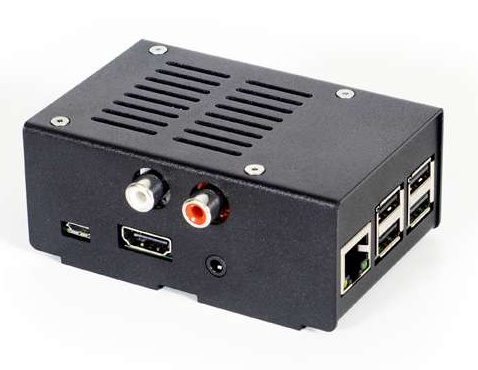
Music Streaming Pi
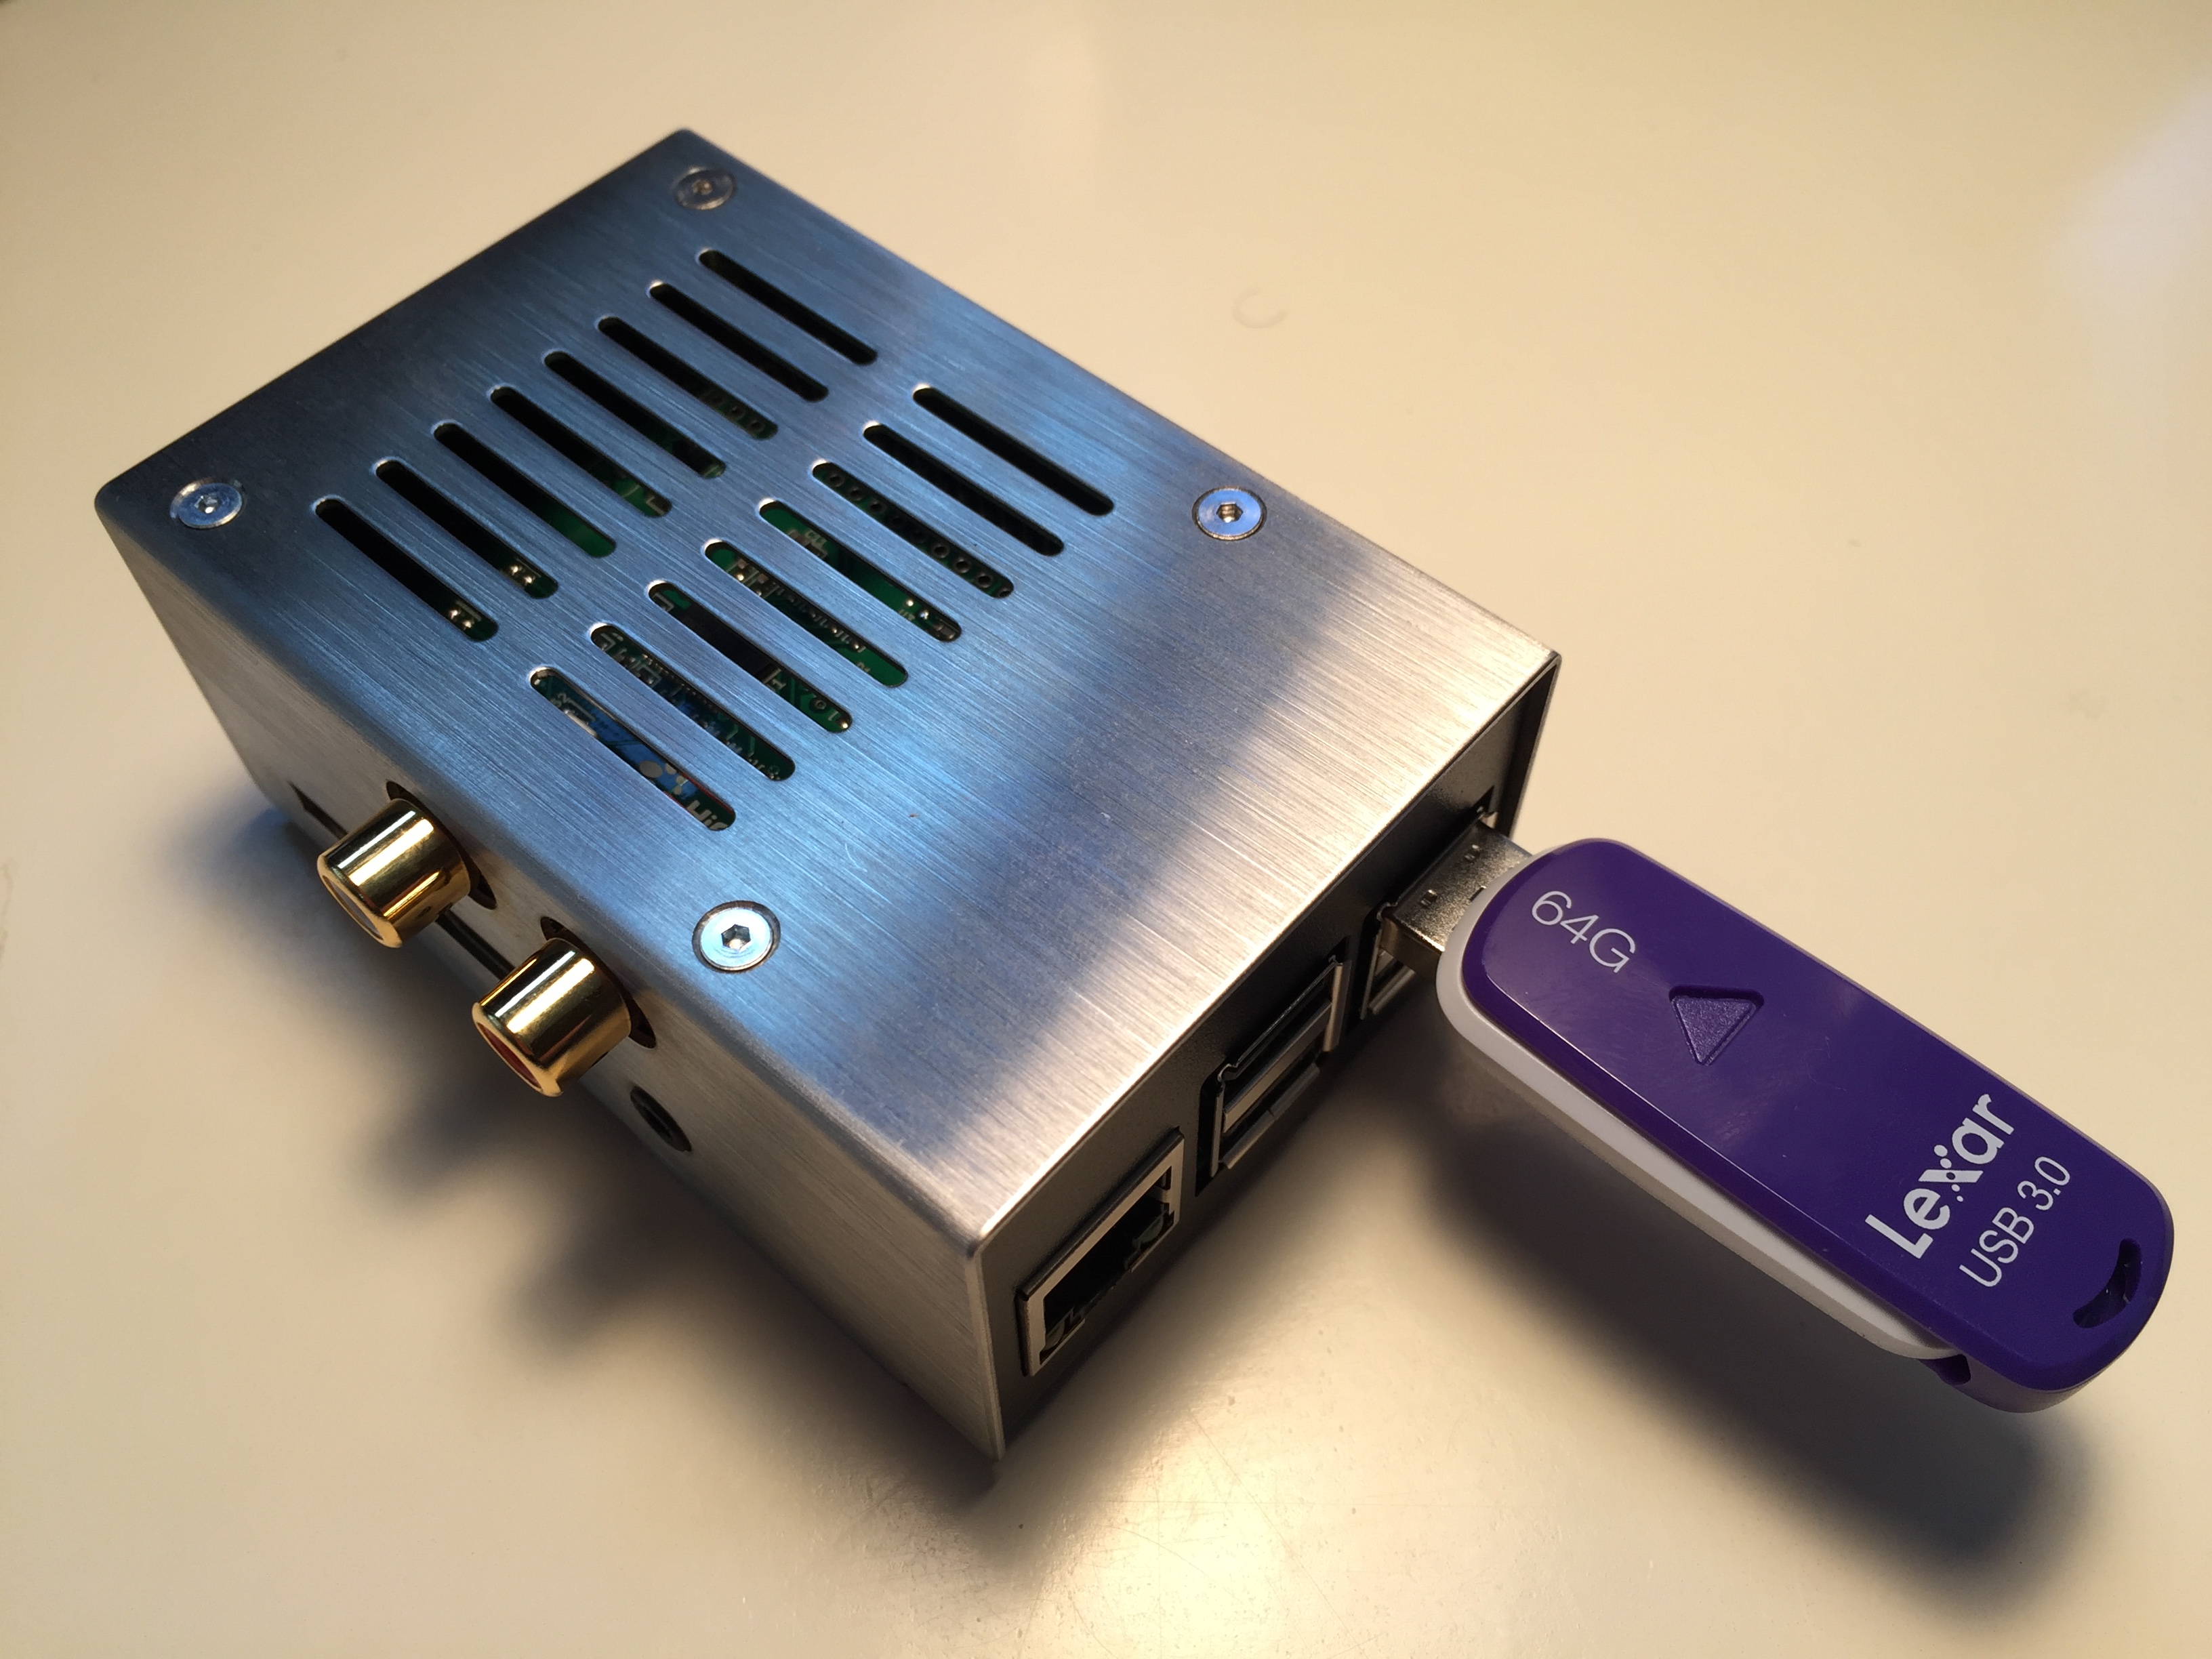
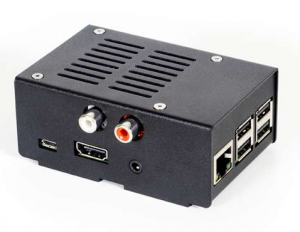
The Finished Player
In about 2003 I bought dedicated audio streaming device, a Roku SoundBridge in order to listen to internet radio. In the intervening decade dedicated audio streamers have become obsolete and Roku discontinued the device. There appear to be no replacements. What to do when it inevitably dies? I built a streamer from a Pi and it is now attached to my stereo.
Here are the parts:
- RaspBerry Pi Model 3B board: $35
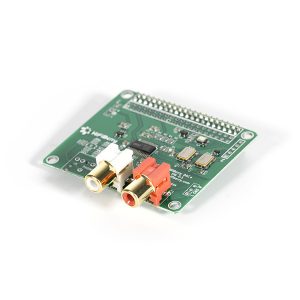
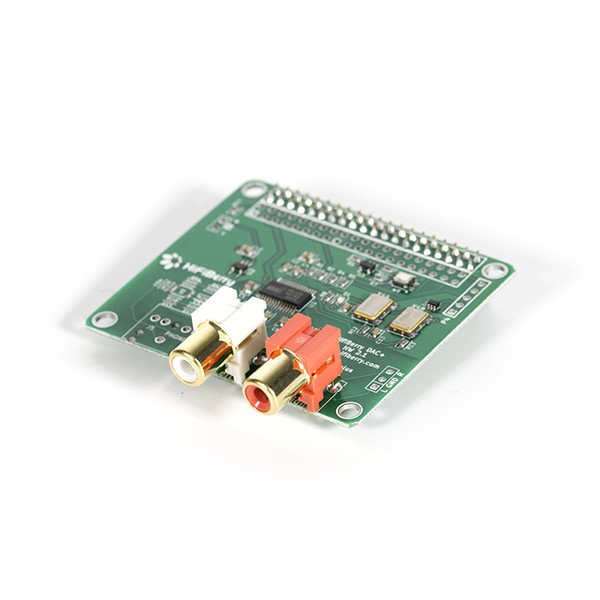
- HifiBerry Sound Module Board (DAC, DAC+, DAC+ Pro), DAC+ Pro: $45
- You could skip this card and save $45, but the on-board sound capability of the Pi is poor. This board turns it into a HiFi system. You should hear the high bit-rate Spotify stream. Very nice.
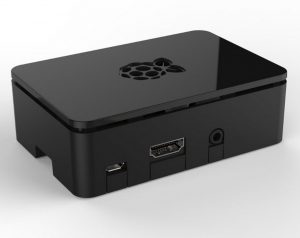
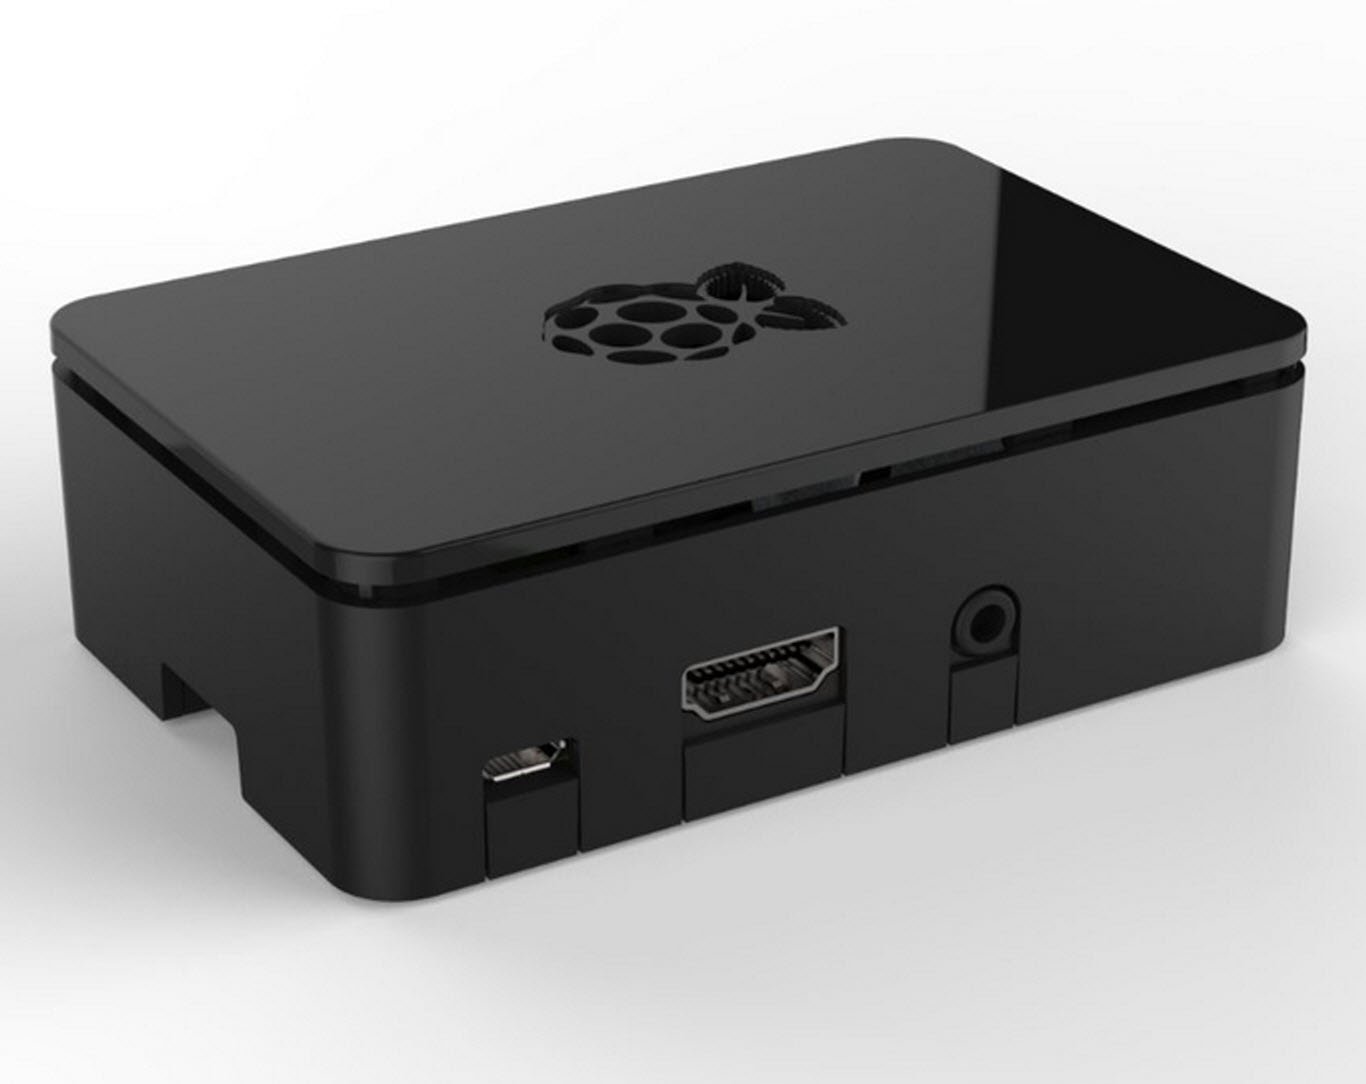
- A case. I used the metal case that Hifiberry sells: $22
- 2.5 amp micro USB power supply: $10
- 32Gb micro SD card: $12
- This is the system memory of the computer. Get a good-quality class-10 card, so it will last. The system writes the card often and will wear out a cheap card
- Simple USB memory stick. This holds your entire music collection that you them copy from your iTunes library, or from wherever. I used a 64Gb stick found on sale for $15
- Some adapter to plug the micro SD card into your laptop or desktop computer for initial configuration. This is either a USB dongle ($5?) or perhaps you already have an SD slot on your computer?
- An ethernet cable
- An old HDMI monitor or a TV with an HDMI input.
Assemble it
- Ground yourself as you handle the boards so you don’t zap them with a static electricity discharge.
- Put the heat sinks on the two chips on the Raspberry Board. My two boards came with pre-cut adhesive already attached to the heat sinks.
- Assemble the case and boards.
Program it
Normally the Raspberry runs a Linux operating system distribution called Raspbian. For single purpose applications, like this music streamer, some open-source software-projects have bundled the operating system together with the software to perform the task. This makes configuration much easier and avoids using the Linux command line for those who fear it. I used a free open-source software system called Volumio
- Get Volumio here
- Click on the downloaded file to unpack it. It’s compressed. The computer will create a folder with several files inside. You want the one that ends in .img
- You need a program to transfer the .img software onto the micro SD card. You can’t just drag and drop. This is a special file. It can be done from the OS X command line, but it’s easier and safer to do it with this application (etcher)
- Install etcher, open it and follow the directions for “flashing” the Micro SD card with the .img file. Etcher ejects the card when done, so just pull it out of the adapter and …
- Insert the micro SD card into the slot on the Pi board (The writing faces away from the board).
- Plug an old HDMI monitor (or a TV with HDMI inputs) into the slot on the Pi board.
- For the first boot-up you’ll need to attach the Pi with an ethernet cable to your router, so go plug it in.
- Then insert the power cord into the micro USB slot. This powers up the computer and it will boot.
- Watch the monitor as it boots and write down the IP address that is displayed. You’ll need this to connect to the Pi from your laptop in order to do the rest of the configuration, including enabling wifi, so that you can skip the ethernet cable on the second boot.
- Go to your laptop or desktop, open a browser and type in the IP address. You should be at the configuration page for Volumio and can set the system up however you want.
- Here’s a quickstart guide from Volumio.
- You can then control the Pi streamer right from your web browser or you can download a free app to your iPhone.
- There are MANY possibilities from this point on, so if you have questions send me a note
Controlling the Volumio streamer from your iPhone
- Install (free) the Volumio app at the iTunes Store.
- Start the app and type in the IP address of the Pi streamer and you’re ready to go.
Network Attached Storage Pi (NAS)

I have too many computers and keeping the files straight among them is a pain. Keeping storage separate from the computer allows several computers to work on the same files and let’s you keep only one copy.
Here are the parts:
- RaspBerry Pi Model 3B board: $35
- A case. I used a cheap plastic case (but it’s black, so looks cool) : $6
- 2.5 amp micro USB power supply: $10
- 32Gb micro SD card: $12
- This is the system memory of the computer. Get a good-quality class-10 card, so it will last. The system writes the card often and will wear out a cheap card
- An old Western Digital USB 3TB desktop harddrive with power cord. I cleaned up and consolidated files on other disks and and repurposed this one. My still has the hfs+ filesystem that I used with a Macintosh. It works fine, but you could reformat to your favorite filesystem before attaching to the little NAS. Free?
- Some adapter to plug the micro SD card into your laptop or desktop computer for initial configuration. This is either a USB dongle ($5?) or perhaps you already have an SD slot on your computer?
- An ethernet cable
- An old HDMI monitor or a TV with an HDMI input.
Assemble it
- Ground yourself as you handle the boards so you don’t zap them with a static electricity discharge.
- Put the heat sinks on the two chips on the Raspberry Board. My two boards came with pre-cut adhesive already attached to the heat sinks.
- Assemble the case and board.
Program it
Normally the Raspberry runs a Linux operating system distribution called Raspbian. For single purpose applications, like this dedicated NAS, some open-source software-projects have bundled the operating system together with the software to perform the task. This makes configuration much easier and avoids using the Linux command line for those who fear it. I used a free open-source software system called OpenMediaVault.
- Get Open Media Vault here.
- Click on the downloaded file to unpack it. It’s compressed. The computer will create a folder with several files inside. You want the one that ends in .img
- You need a program to transfer the .img software onto the micro SD card. You can’t just drag and drop. This is a special file. It can be done from the OS X command line, but it’s easier and safer to do it with this application (etcher)
- Install etcher, open it and follow the directions for “flashing” the Micro SD card with the .img file. Etcher ejects the card when done, so just pull it out of the adapter and …
- Insert the micro SD card into the slot on the Pi board (The writing faces away from the board).
- Plug an old HDMI monitor (or a TV with HDMI inputs) into the slot on the Pi board.
- For the first boot-up you’ll need to attach the Pi with an ethernet cable to your router, so go plug it in.
- Then insert the power cord into the micro USB slot. This powers up the computer and it will boot.
- Watch the monitor as it boots and write down the IP address that is displayed. You’ll need this to connect to the Pi from your laptop in order to do the rest of the configuration, including enabling wifi, so that you can skip the ethernet cable on the second boot. Or leave the ethernet cable attached for a 100mbps landline to the disks.
- Go to your laptop or desktop, open a browser and type in the IP address. You should be at the configuration page for Open Media Vault and can set the system up however you want.
- Here’s a quickstart guide on Open Media Vault that was actually written by the folks at CNET.
- You can then control the Pi NAS right from your web browser.
- I run it “headless.” That means the I unplugged the keyboard, mouse and display after setting it up. It’s just a little box on a shelf that sits next to the harddrive. The only cords are the power cable, the ethernet cable and the USB cable from the drive. Pretty simple. Since the Pi has four ethernet ports you could put plenty of storage on this device with four drives.
- I’ve been monitoring the temperature of the processor and it stays below about 55C, so is well within the safe operating limits of the Pi even without active cooling.
- There are MANY possibilities from this point on, so if you have questions send me a note